Home decor reflects the personality and style of its inhabitants. One of the most engaging and creative ways to transform your living space is through DIY projects, particularly using stencils. Among various stencil designs, sakura tree stencils stand out for their beauty and emotional resonance. This article explores how to effectively use sakura tree stencils to breathe new life into your home, offering insights, tips, and inspiration for your next DIY decor project.
The Allure of Sakura Trees

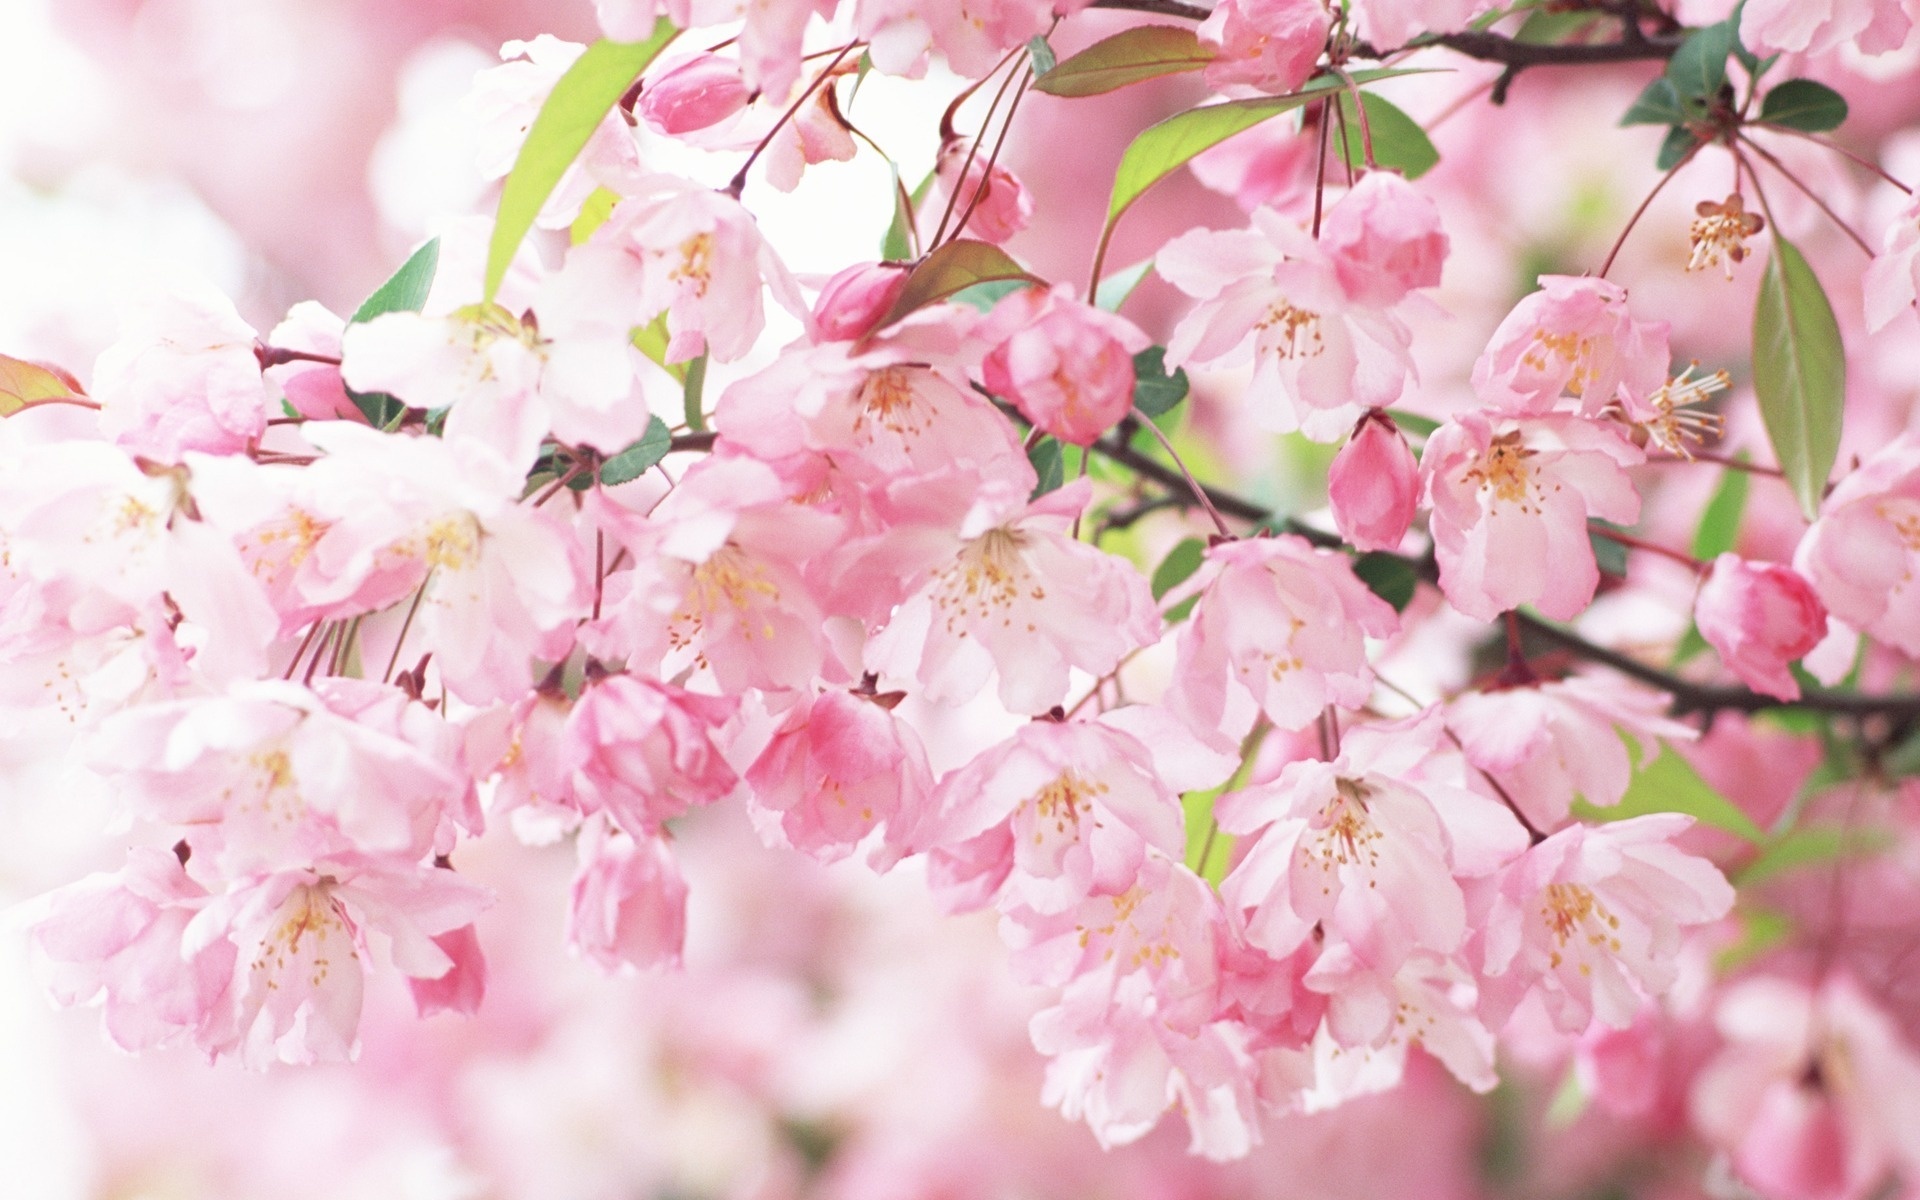
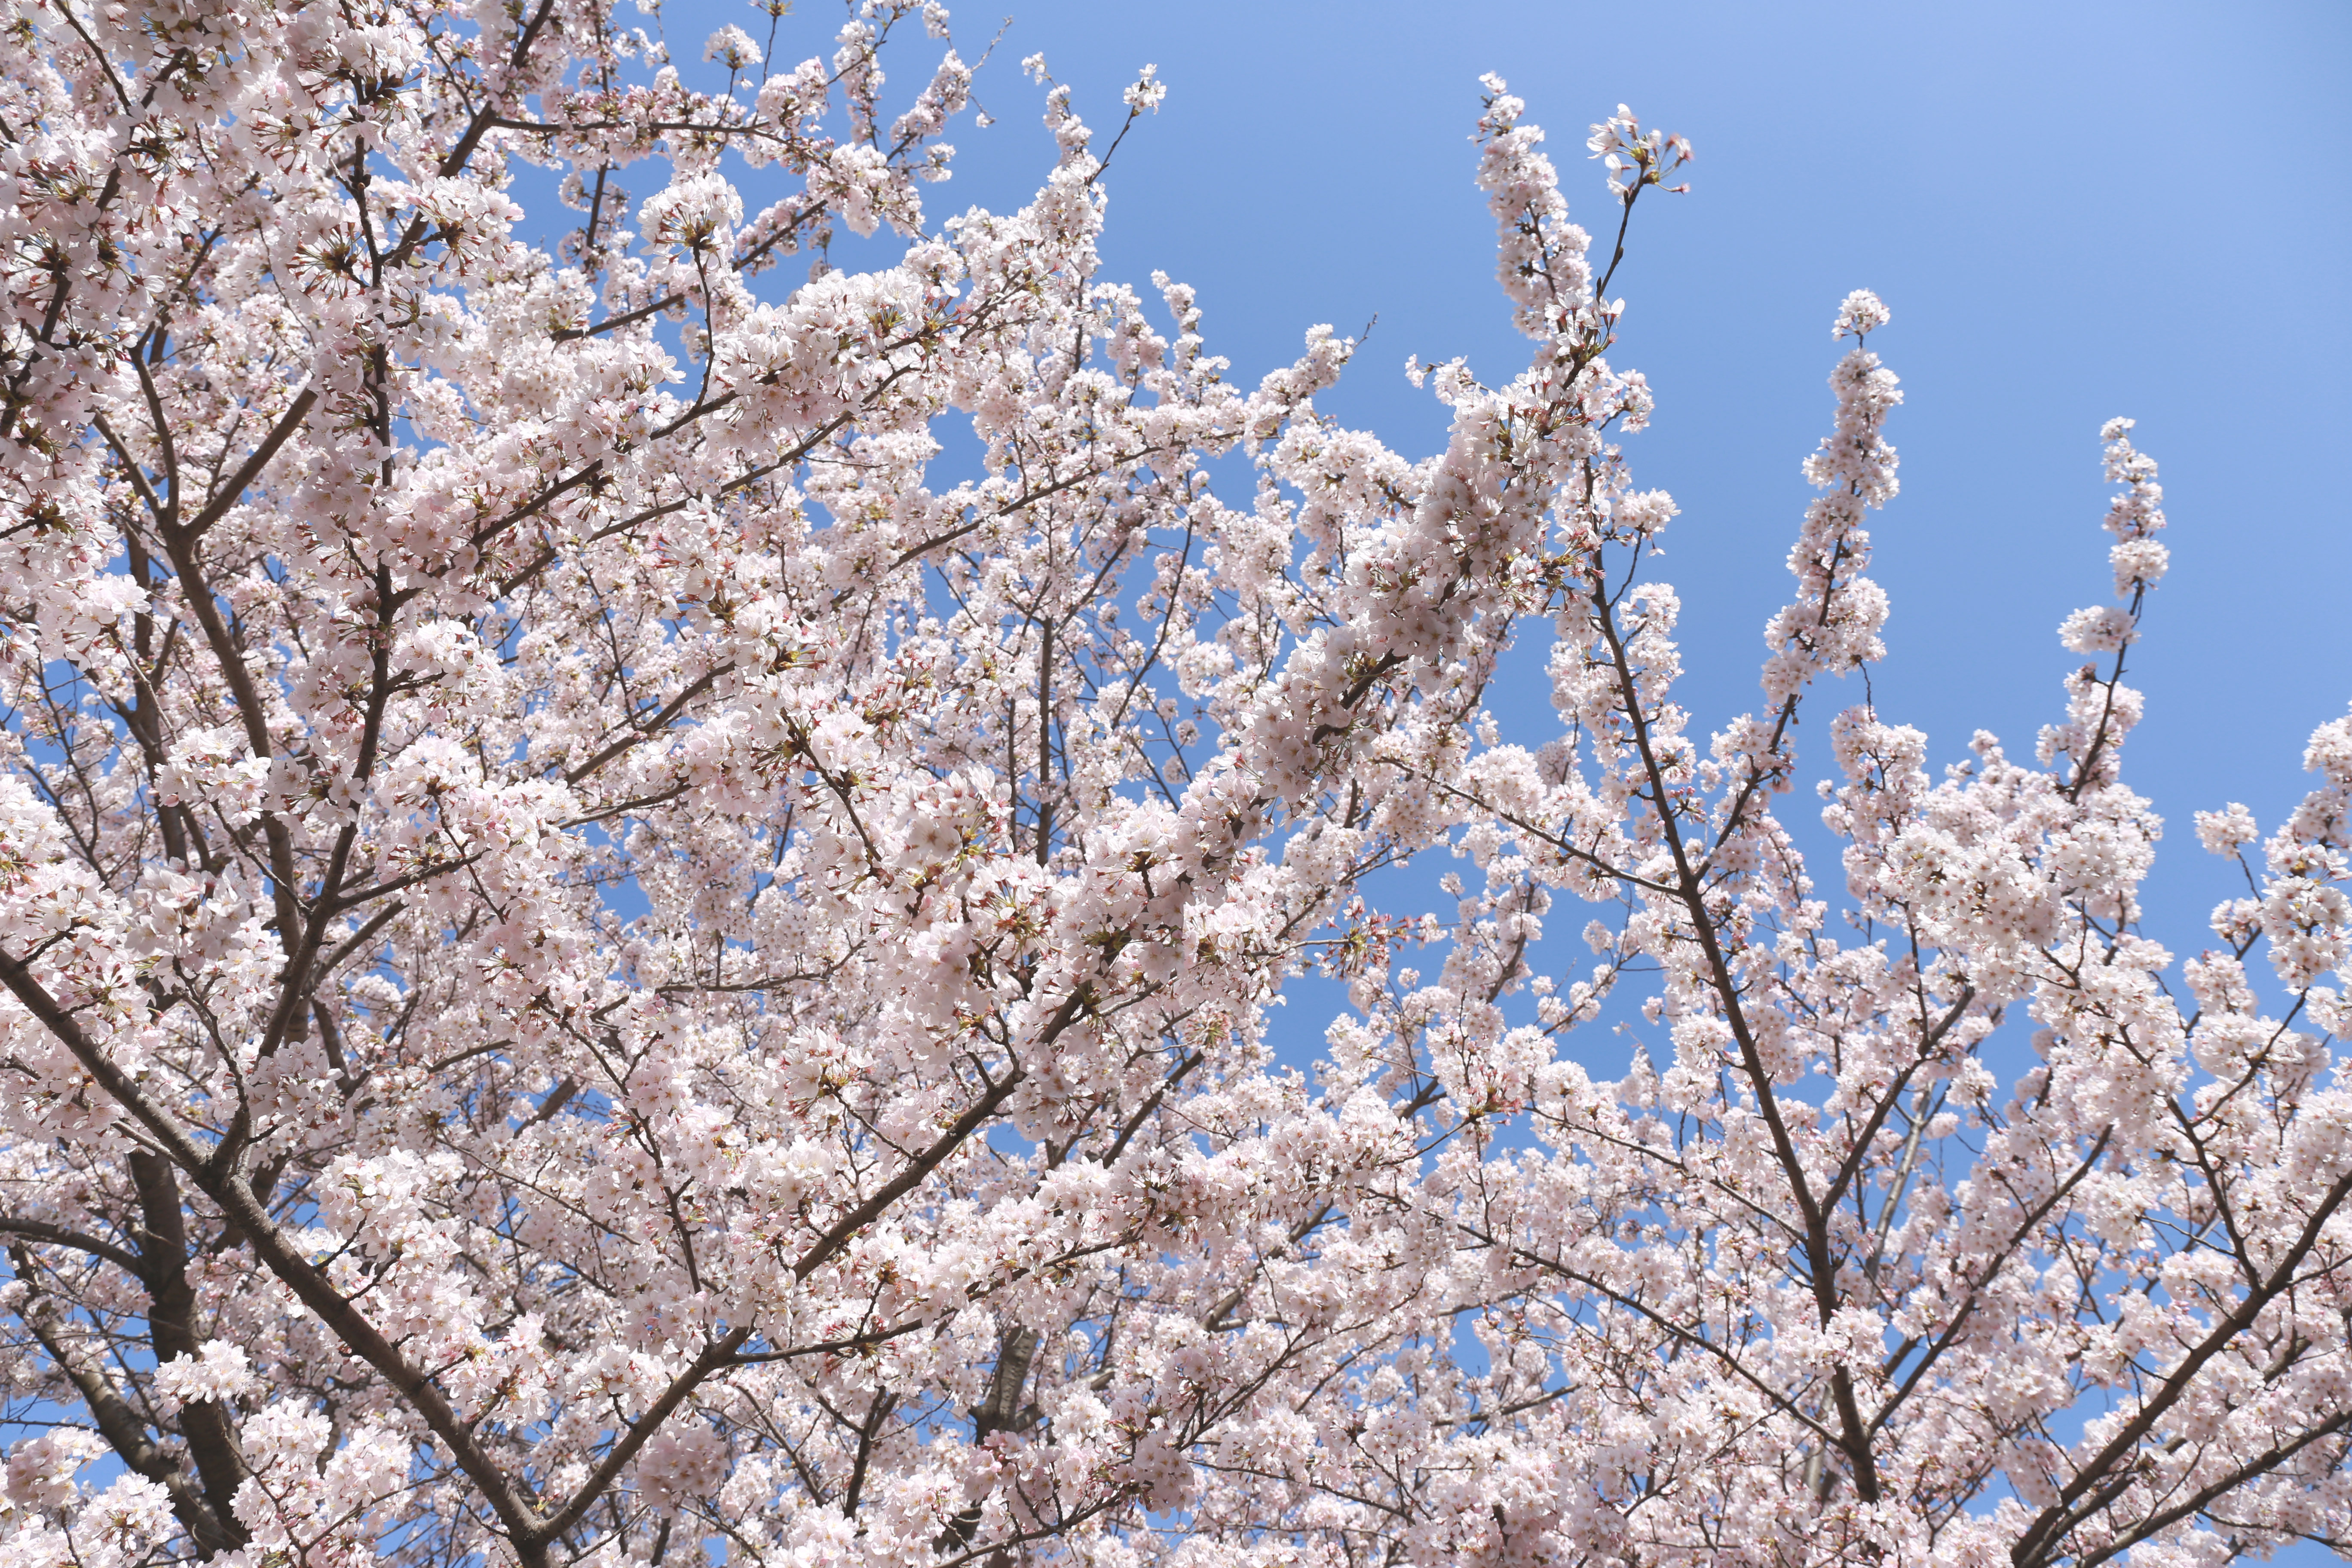
Sakura, or cherry blossom trees, are celebrated worldwide for their stunning beauty and cultural significance. Originating from Japan, these trees symbolize renewal, beauty, and the ephemeral nature of life. Incorporating sakura tree stencils into your home decor can create a serene and inviting atmosphere. Here’s why their aesthetic appeal makes them an excellent choice for DIY projects:
- Symbolism: Sakura trees represent beauty and the transient nature of life, making them a meaningful addition to your decor.
- Aesthetic Appeal: Their delicate flowers can enhance the visual appeal of any room, adding a touch of elegance and tranquility.
- Versatility: Sakura designs can be adapted to fit various styles, from traditional to modern.
Choosing the Right Sakura Tree Stencils
Selecting the right stencil is crucial for achieving the desired effect in your home decor project. Here are some factors to consider when choosing sakura tree stencils:
- Size: Consider the size of the wall or area you wish to decorate. Larger stencils can create a bold statement, while smaller ones can be used for subtle accents.
- Design Complexity: Choose a design that matches your skill level. Simple stencils are great for beginners, while intricate designs can challenge more experienced DIYers.
- Material: Stencils can be made from various materials, including plastic, cardboard, and vinyl. Each has its own advantages and durability factors.
Tools and Materials Needed for DIY Sakura Tree Stenciling

Before starting your project, gather all necessary tools and materials. Here’s a list to help you get organized:
- Sakura Tree Stencil: Purchase or create your own stencil design using a cutting machine or by hand.
- Paint: Choose colors that complement your existing decor. Soft pinks, whites, and pastels work well for a sakura theme.
- Paintbrushes or Rollers: Select the right tools for applying paint evenly. Foam rollers are excellent for larger areas, while brushes are better for details.
- Painter’s Tape: Use tape to secure the stencil in place and protect areas you don’t want to paint.
- Drop Cloths: Protect your floors and furniture from paint splatters.
- Clear Sealant: Consider applying a sealant after painting to protect your work.
Step-by-Step Guide to Stenciling Sakura Trees

Ready to get started? Follow this comprehensive guide to stenciling sakura trees in your home:
Step 1: Prepare Your Space
Choose the wall or area you want to decorate. Ensure it is clean and dry. Lay down drop cloths to protect your floor and furniture.
Step 2: Position the Stencil
Use painter’s tape to secure the stencil to the wall. Make sure it is level and positioned where you want it. If you are using multiple stencils, plan your layout in advance.
Step 3: Apply the Paint
Using a foam roller or brush, carefully apply paint to the stencil. Start with light coats to avoid paint bleed. Remove the stencil while the paint is still wet for crisp lines.
Step 4: Repeat as Needed

If your design includes multiple stencils, repeat the positioning and painting steps until you achieve your desired look.
Step 5: Final Touches
Once the paint is dry, consider applying a clear sealant to protect your artwork. This will also enhance the color and longevity of your design.
Inspiration: Real-Life Applications of Sakura Tree Stencils
Many homeowners and designers have successfully incorporated sakura tree stencils into their decor. Here are a few inspiring case studies:
- Living Room Accent Wall: A homeowner transformed their bland living room by painting a large sakura tree on one wall, creating a focal point that sparked conversations.
- Nursery Decor: Parents painted soft pink sakura trees in their baby’s nursery, creating a calming and whimsical atmosphere that is visually stimulating for the child.
- Office Space: A remote worker added subtle sakura accents to their home office, which not only beautified the space but also inspired creativity and productivity.
Tips for Maintaining Your Sakura Tree Decor
Once you have completed your stenciling project, keeping it looking fresh is essential. Consider the following maintenance tips:
- Regular Cleaning: Dust the area gently to prevent buildup. Use a soft cloth to avoid damaging the paint.
- Avoid Harsh Chemicals: When cleaning, use mild soap and water. Harsh chemicals can cause the paint to fade or peel.
- Touch-Ups: Keep extra paint on hand for touch-ups, especially in high-traffic areas.
Transforming your home with sakura tree stencils is a rewarding DIY project that can enhance your living space’s aesthetic and emotional appeal. By selecting the right stencils, preparing adequately, and following a structured approach, you can create beautiful artwork that reflects your style and values. The symbolism of the sakura tree, combined with its stunning visuals, makes it an excellent choice for home decor. Remember to maintain your masterpiece and enjoy the serene beauty it brings to your environment.
With creativity and the right tools, you can turn any wall into a work of art that celebrates beauty, renewal, and the fleeting moments of life, just like the sakura blossoms themselves.


