In the ever-evolving world of eyelash extensions, knowing how to create a lash map is essential for any beginner lash artist. A lash map is a blueprint that guides the placement, length, and curl of eyelash extensions to achieve a desired look. Whether you’re a beauty enthusiast or a professional just starting out, mastering the art of lash mapping can set you apart in this competitive industry. This guide will explore the fundamentals of lash maps, their importance, and how to create your own.
What is a Lash Map?

A lash map is essentially a diagram or template that outlines how eyelash extensions will be applied to a client’s natural lashes. It details the lengths, curls, and placement of the extensions across the lash line, tailored to each client’s unique eye shape and desired style. Lash maps help ensure that the final look is both aesthetically pleasing and structurally sound.
The Importance of Lash Maps

Creating a lash map is not just a creative endeavor; it serves several practical purposes:
- Customization: Each client has different natural lash characteristics and preferences. A lash map allows for personalized designs that enhance their features.
- Efficiency: Having a clear plan reduces the time spent on application, making the session more efficient for both the artist and the client.
- Consistency: Lash maps help ensure that the results are consistent from one appointment to another, which is crucial for client satisfaction and retention.
- Visual Communication: A lash map serves as a visual guide that can help communicate ideas between the artist and the client, ensuring everyone is on the same page.
Types of Lash Maps
Lash maps can vary in style and complexity. Below are some popular types commonly used by lash artists:
- Classic Lash Map: Utilizes a one-to-one extension ratio, where one extension is applied to each natural lash. This style is great for a natural look.
- Volume Lash Map: Involves applying multiple lightweight extensions to a single natural lash, creating a fuller and more dramatic appearance.
- Hybrid Lash Map: Combines both classic and volume techniques, offering a mix of volume and natural lash appearance.
- Cat Eye Lash Map: Features longer extensions toward the outer corners of the eyes, creating a feline effect.
- Dolley Eye Lash Map: Centers the length in the middle of the lash line, giving a wide-eyed appearance.
- Wispy Lash Map: Incorporates varying lengths throughout the lash line, resulting in a textured, wispy look.
Understanding Eye Shapes and Lash Mapping
One of the most critical factors in lash mapping is understanding the client’s eye shape. Different eye shapes require different mapping techniques to achieve the most flattering look. Here are some common eye shapes and corresponding mapping tips:
- Almond Eyes: This versatile shape can pull off a variety of styles, including cat eye and dolly eye. A balanced lash map works best.
- Round Eyes: For round eyes, a cat eye lash map can elongate and enhance the natural shape. Focus on longer lengths towards the outer corners.
- Hooded Eyes: Use shorter lengths to prevent the lashes from overwhelming the eye. A wispy lash map can add dimension without excessive weight.
- Monolid Eyes: For monolid eyes, a volume lash map can add depth and drama. Focus on a balanced length throughout.
- Upturned Eyes: Similar to almond eyes, upturned eyes can benefit from a doll eye or cat eye map to enhance their natural lift.
Creating Your Own Lash Map
Now that you understand the basics, let’s dive into how to create your own lash map. Here’s a step-by-step guide:
1. Gather Your Tools
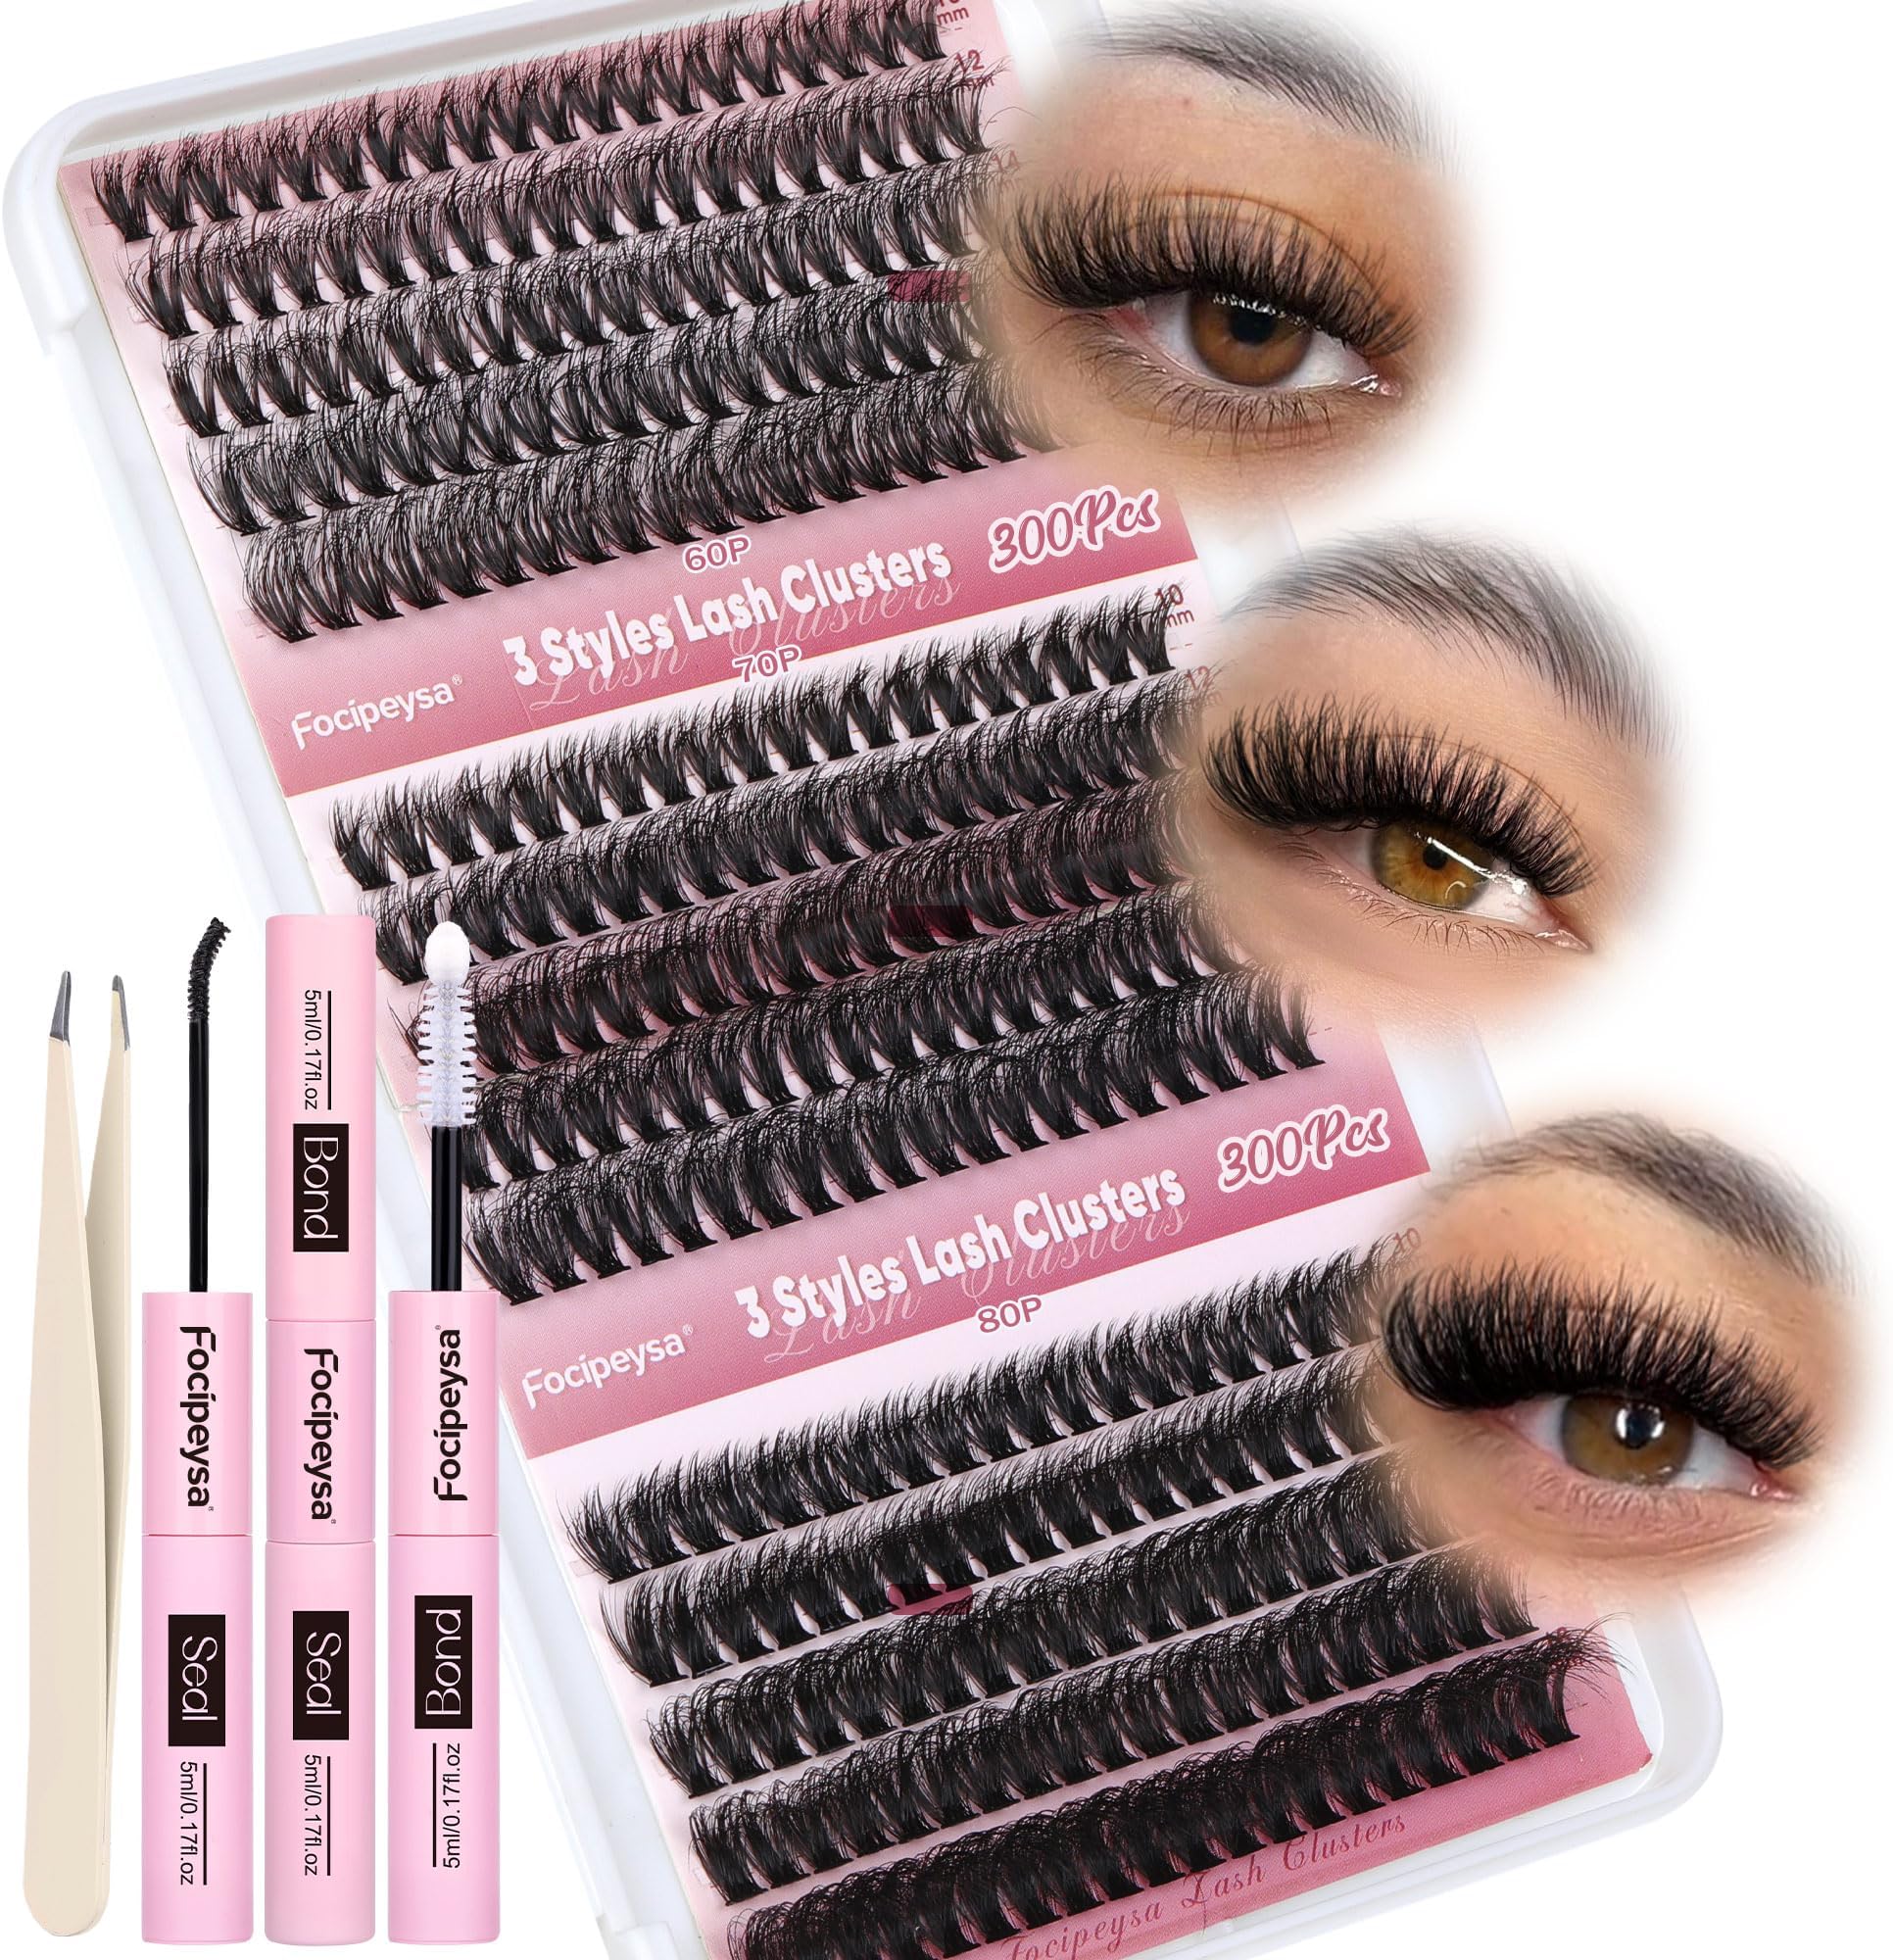
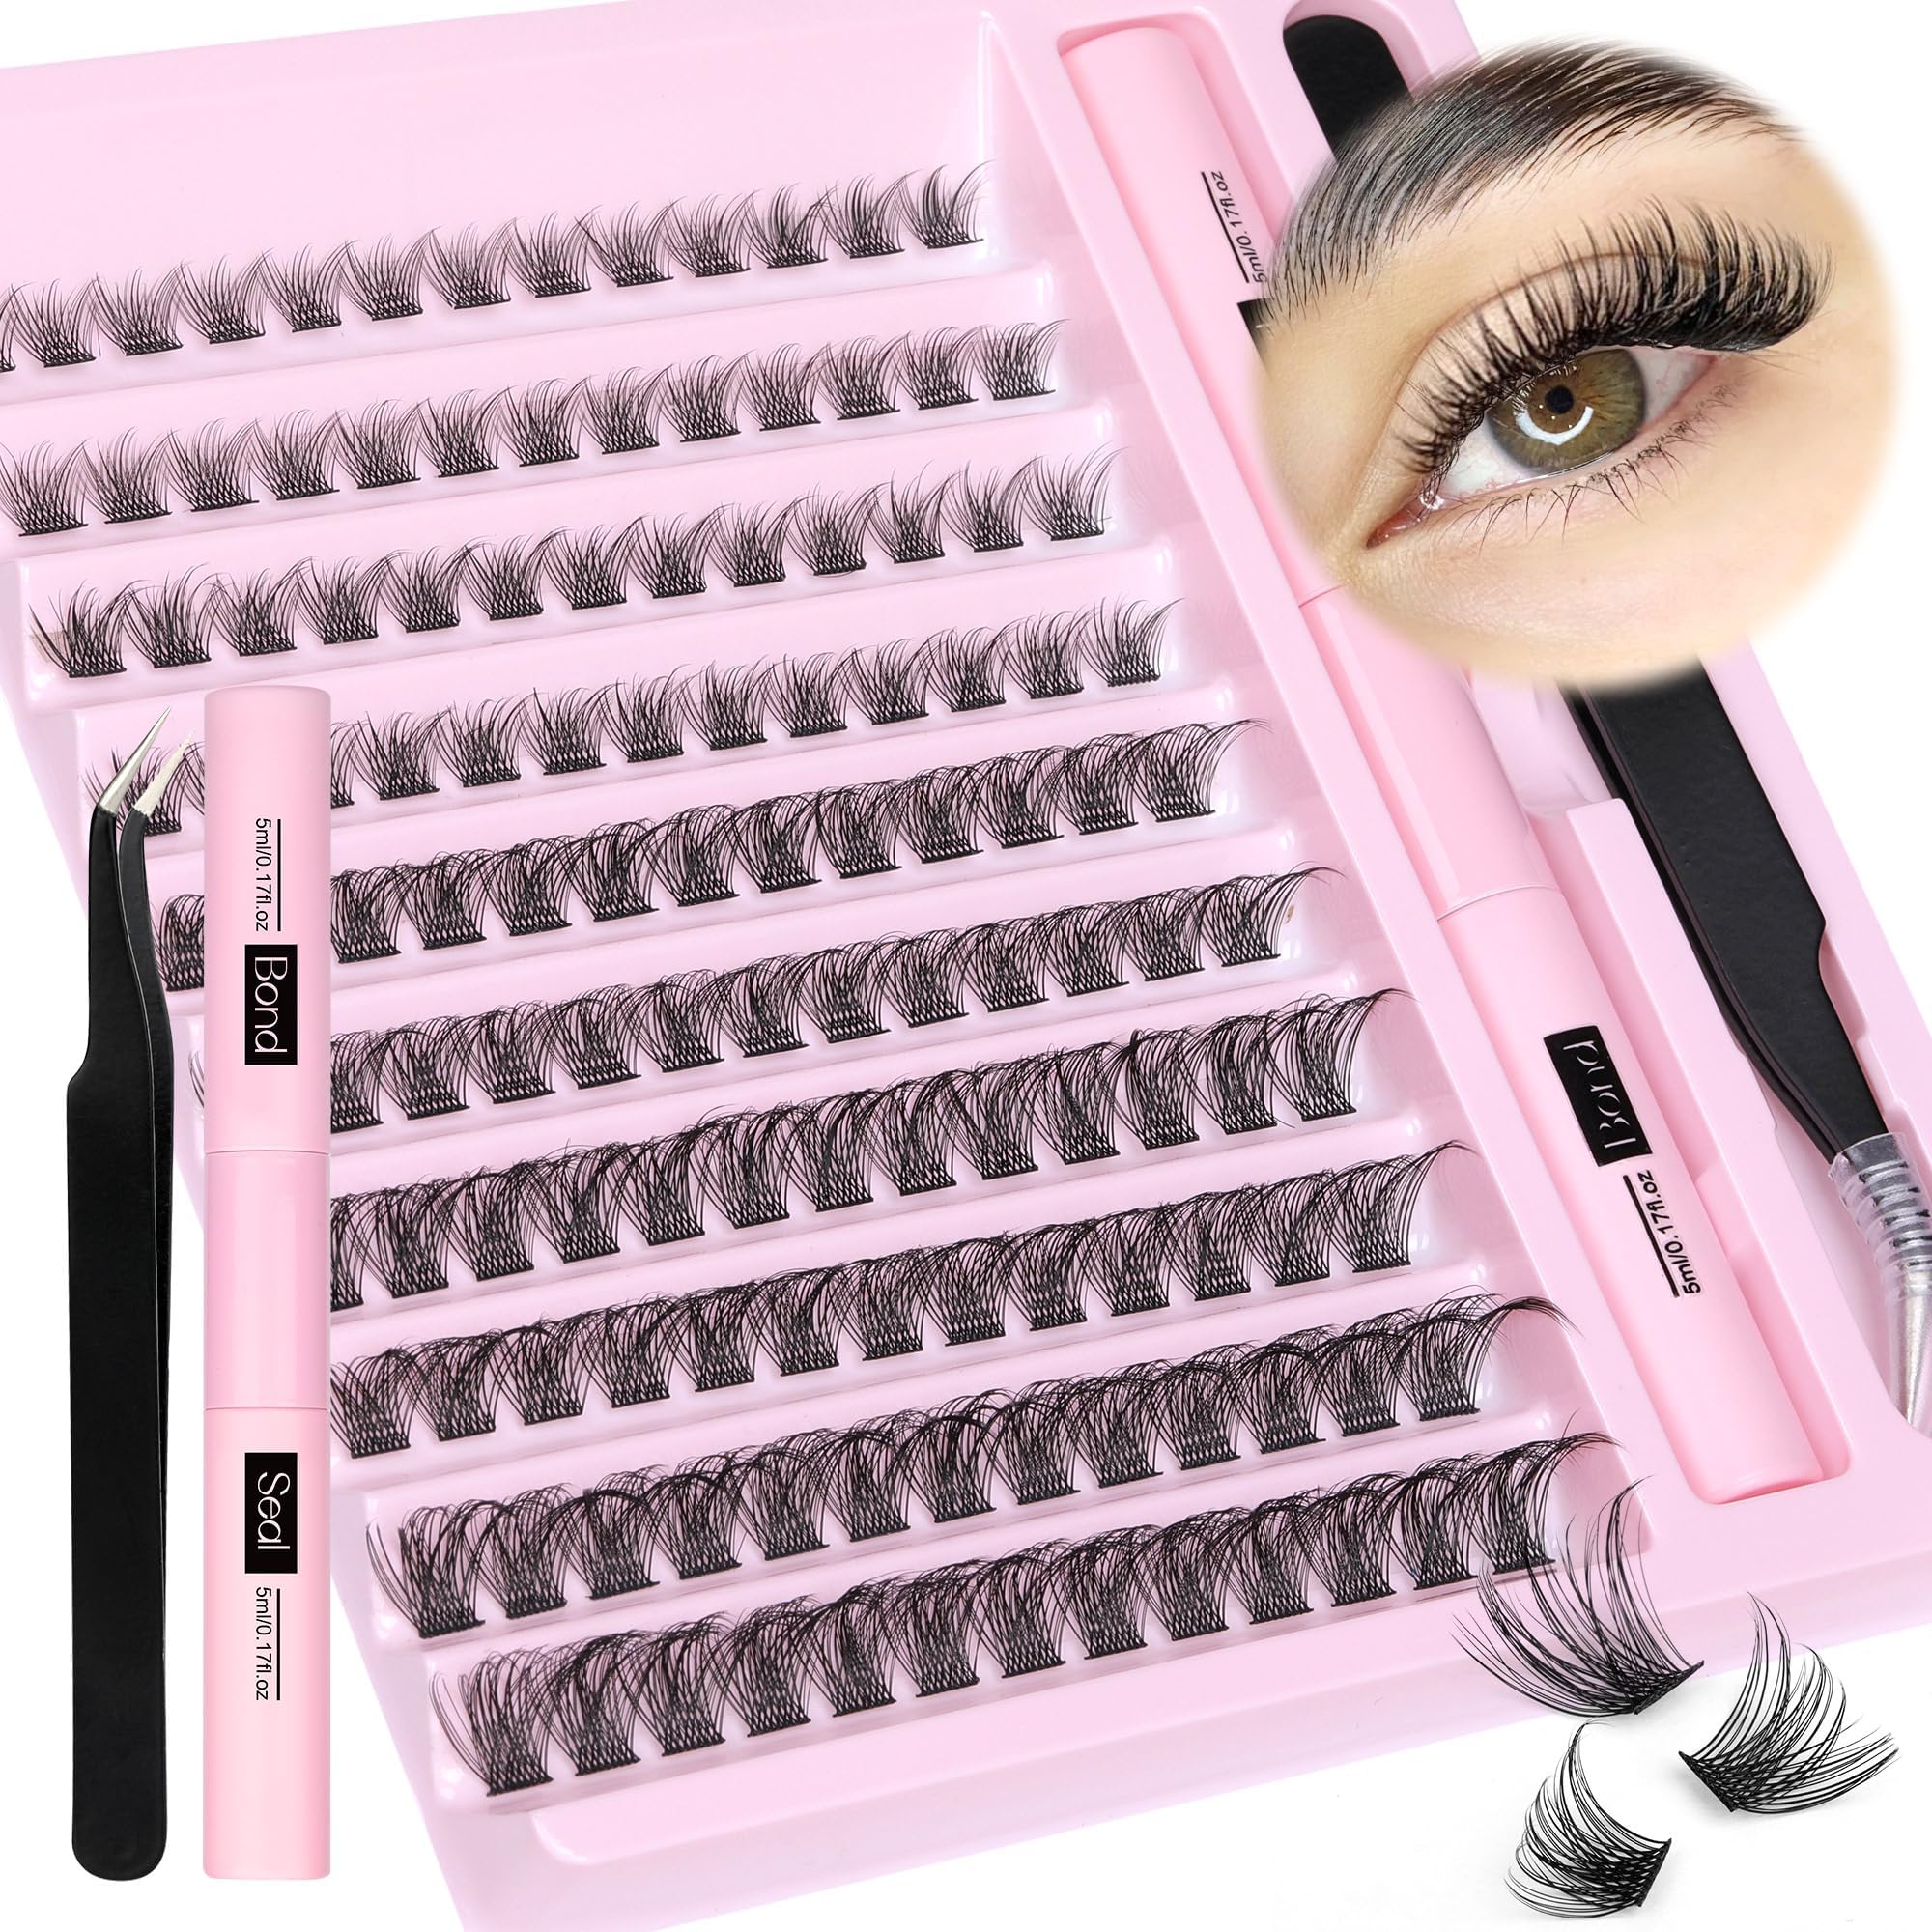
Before starting, make sure you have the following tools:
- Lash extension trays (various lengths and curls)
- Adhesive
- Microbrushes and tweezers
- Sticky notes or a lash map template
2. Consult Your Client
Communication is key. Discuss with your client their preferences, lifestyle, and any specific looks they might have in mind. Take note of their natural lash characteristics as well.
3. Choose Your Style
Based on the consultation, decide on a lash style (classic, volume, hybrid, etc.) that will best suit the client’s eye shape and preferences.
4. Sketch the Map

Use sticky notes or a template to sketch your lash map. Mark the lengths and curls at various points along the lash line, indicating where each extension will be placed.
5. Apply Extensions

Using your lash map as a guide, begin applying the extensions. Ensure that you follow the plan closely to maintain consistency and achieve the desired look.
Case Studies: Lash Mapping in Action
To illustrate the importance of lash mapping, consider the following case studies:
Case Study 1: The Busy Professional
A busy client wanted a natural look that would last through her hectic schedule. By creating a classic lash map with a focus on shorter lengths and a consistent curl, the lash artist was able to provide a look that enhanced her features while requiring minimal upkeep.
Case Study 2: The Glamorous Bride
For a bride seeking a dramatic look for her wedding day, the artist utilized a hybrid lash map. By combining classic and volume techniques, the artist created a full, glamorous look that complemented the bride’s eye shape and overall aesthetic.
Statistics on Lash Extensions
The popularity of lash extensions has surged in recent years. According to a study by IBISWorld, the eyelash extension industry in the U.S. has seen a growth rate of 9.6% annually. Additionally, a survey conducted by Lash Affair found that:
- 78% of clients reported improved confidence after receiving lash extensions.
- 65% of lash extension clients prefer customized styles over standardized options.
Understanding lash maps is an essential skill for any lash artist, enabling you to create customized, beautiful looks for your clients. By mastering the basics of lash mapping, you can enhance your artistry, streamline your application process, and ultimately, increase client satisfaction. Remember to consider individual eye shapes, preferences, and lifestyles when crafting your maps. With practice and creativity, you can elevate your lash extension services and stand out in a competitive market.
As you embark on your journey into the world of lash mapping, keep these key takeaways in mind:
- A lash map is a crucial tool for customization and efficiency.
- Different eye shapes require tailored mapping techniques.
- Effective communication with clients is essential for successful results.
- Practice and experimentation will improve your lash mapping skills over time.
With dedication and attention to detail, you can become a skilled lash artist, bringing beauty and confidence to clients one lash at a time.